Guide
How to Make Origami (Step-by-Step Beginner Guide)
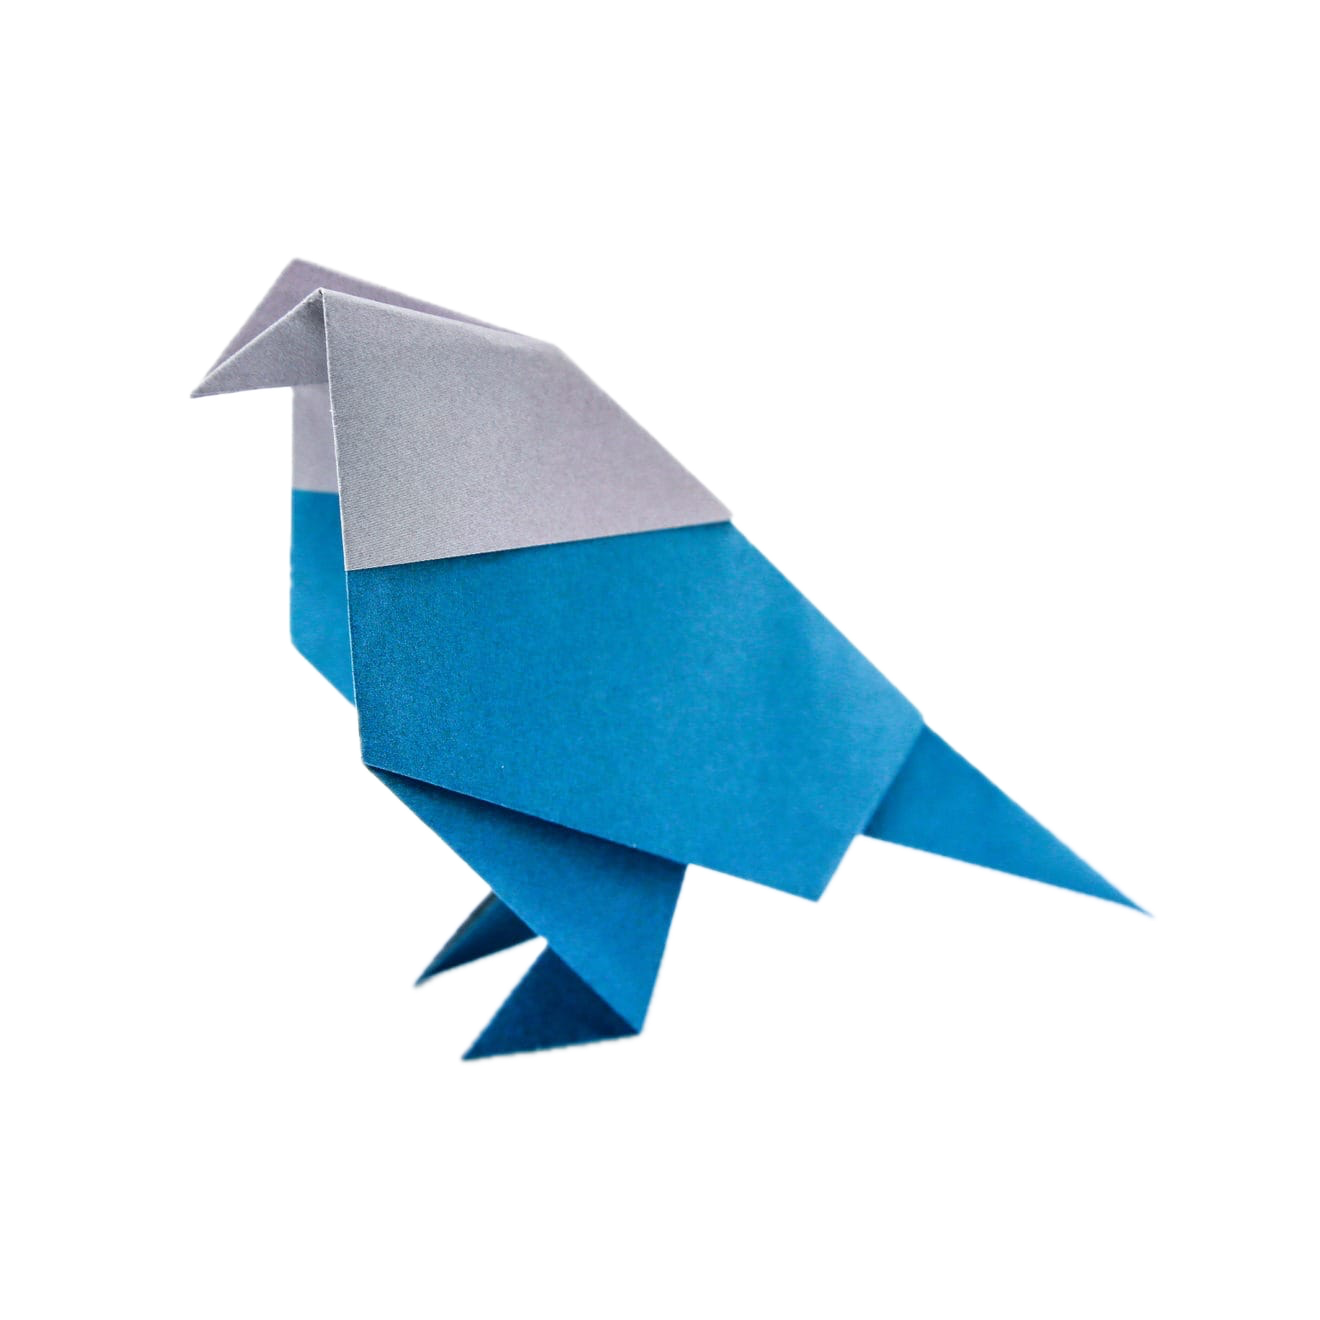
Origami is the art of folding paper into models using creases and simple geometry. Most beginner projects use no cutting or gluing. This page is your beginner pillar: you will learn what to use, how the basic folds work, and a clear order to follow before you open any project tutorial. When you are ready to fold, you will have links to easy tutorials so you can practice with a plan instead of a random list.
Think of it in two steps: (1) learn the basics on this page, (2) pick one easy model, finish it, then try another. If you want a full catalog, start at Easy Origami. If you want a step-by-step order, use Easy Origami Step by Step.
What You Need
- Square paper: Most models start with a square. You can use origami paper or cut printer paper to a square.
- A flat surface: A table helps you line up edges and see mistakes early.
- Optional tools: A ruler helps trim straight edges; a bone folder (or a fingernail) makes sharper creases.
- Patience and practice: The first try is practice; the second try is usually much cleaner.
How to Make Origami Step by Step
Follow this simple process the first few times. It works for kids at home, classrooms, and adults learning solo.
- Choose simple paper: Start with regular weight paper. Very thick card stock is hard to fold neatly.
- Start with a square: If your paper is a rectangle, cut it to a true square so corners match on every fold.
- Learn the valley fold: Fold the paper forward along the line so the crease looks like a “V” from the side.
- Learn the mountain fold: Fold the paper the other way so the peak points up like a ridge (your hands often “pinch” a mountain from behind).
- Line up edges carefully: Small misalignment gets worse with every step, so re-open a fold and fix it as soon as something looks off.
- Crease sharply: Run a fingernail or bone folder along the full crease. Soft creases look messy and are harder to reverse.
- Follow one model at a time: Finish a tutorial end-to-end before starting a second project.
- Practice with easy tutorials: When you are ready, choose one of the projects below and fold along with the photos or steps.
Basic Origami Folds
These folds show up again and again. You do not need to memorize the Japanese names; you just need to recognize the motion.
Valley fold
A valley fold is the most common “fold the paper toward you” move. The crease points down like a small valley. Use it to halve a square, mark center lines, and set up more advanced moves.
Mountain fold
A mountain fold runs the other direction: the paper folds away to form a raised ridge. Many diagrams use valley and mountain together so the paper can collapse cleanly into the next step.
Squash fold
A squash fold flattens a corner or flap in a controlled way, usually after you have opened a pocket slightly. The paper “squashes” into a new flat shape, often a kite base or a petal. Go slowly, open the pocket, then flatten evenly on both sides.
Inside reverse fold
An inside reverse fold tucks a flap inside the model along a crease you already have. It is a classic way to make narrow points (like a beak) without cutting. Pre-crease first, then push the point inward and flatten.
Outside reverse fold
An outside reverse fold wraps a flap the opposite direction, around the outside of the shape. It is similar to the inside reverse fold, but the paper wraps outward. Use it when a diagram needs a point to “turn around” the model.
Best Beginner Origami Projects to Practice
These tutorials are a strong starting set: short enough to finish in one sitting, and different enough to build real skill (boats, sea animals, a bird-like character, a paper toy). Click one link, complete it, then return here anytime you need a basics refresher.
Origami sail boat
- Why it is good for beginners: Simple folds, fast results, and a clear “I did it” moment for kids and first-time folders.
- Estimated time: 5–10 minutes
Origami penguin
- Why it is good for beginners: A small animal build that is recognizably cute—great for classrooms and family craft time.
- Estimated time: About 10 minutes
Make the origami penguin step by step
Easy origami whale
- Why it is good for beginners: Friendly shape, forgiving folds, and a nice bridge between “very easy” and “a little more steps.”
- Estimated time: 10–15 minutes
Origami crab
- Why it is good for beginners: A simple sea-creature project that still feels like a “real” origami model when you are done.
- Estimated time: 10–15 minutes
Paper ninja star (origami shuriken)
- Why it is good for beginners: A classic paper “toy” that motivates practice with neat creases. Slightly more steps, but very satisfying.
- Estimated time: 10–15 minutes
Browse and guided paths (not a random list):
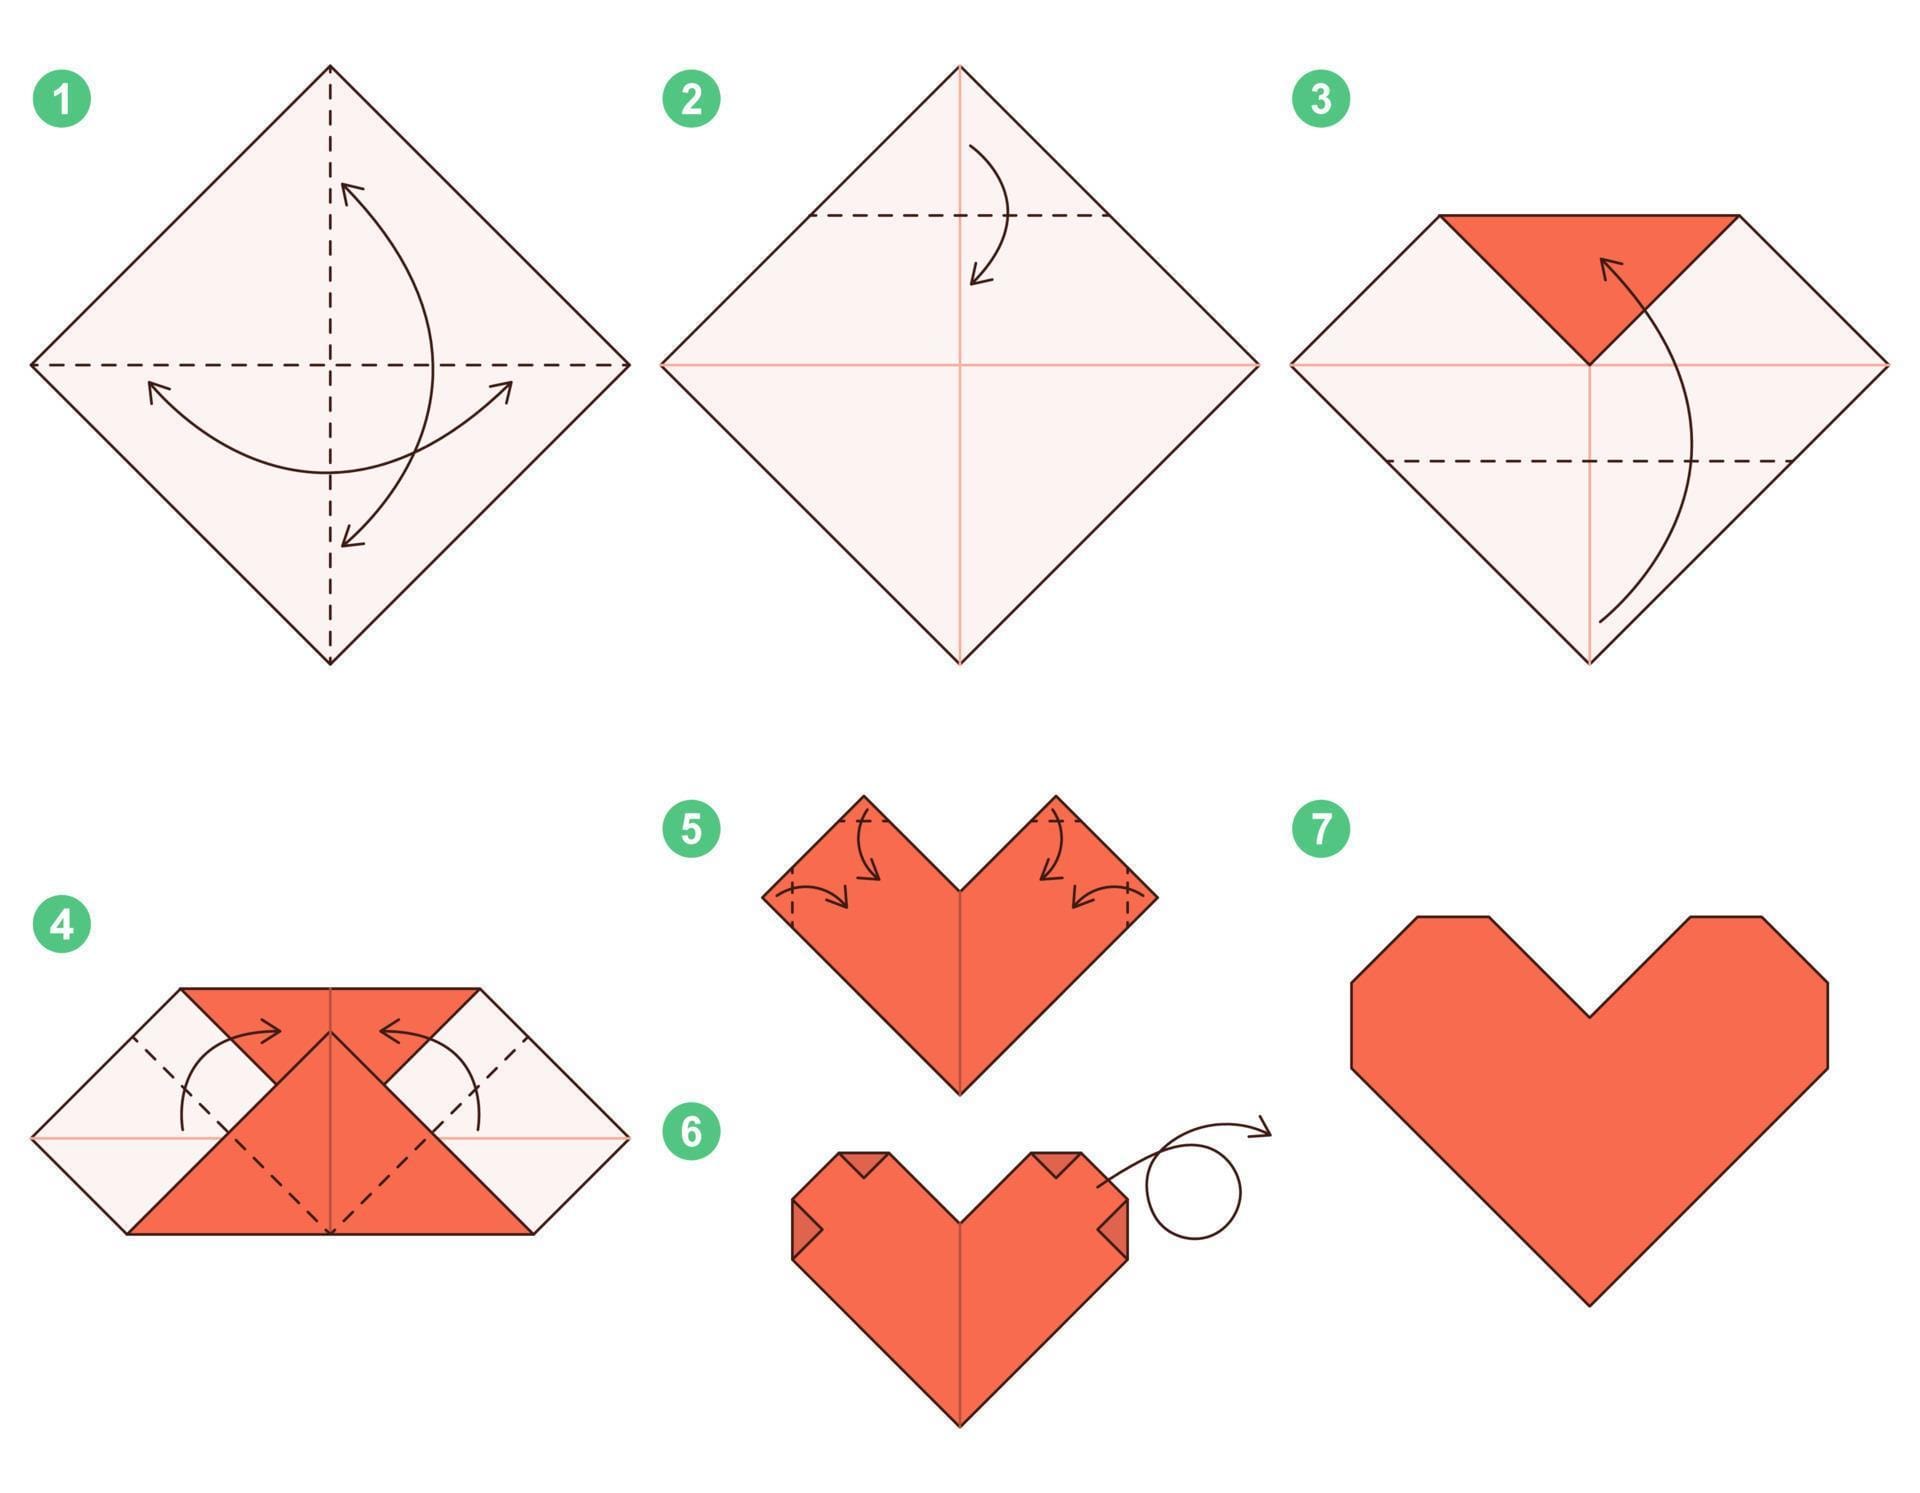
- Easy Origami — browse a wider list of easy projects in one place.
- Easy Origami Step by Step — a guided order if you want a path instead of a catalog.
Beginner Tips
- Use thin paper to start: Thin office paper or kami is easier to score and reverse-fold than heavy cardstock.
- Make clean creases: A sharp fold prevents layers from sliding and keeps corners aligned.
- Slow down: Accuracy beats speed, especially for the first three folds of any model.
- Compare both sides: Flip the paper to check whether left and right match before you move on.
- Restart if needed: Unfolding a bad step is normal; a fresh start can be faster than forcing a bad crease.
- Fold the same model twice: The second time is when techniques actually stick for beginners.
Common Mistakes
- Paper not square: Edges and corners will not line up, and the model will look twisted.
- Skipping crease accuracy: A small error turns into a big one after two or three folds.
- Using thick paper: Layers stack up, creases get bulky, and details stop working.
- Trying complex models too soon: Build confidence on easy tutorials first, then add difficulty slowly.
- Rushing: Rushing is the most common “mistake” that looks like a skill problem. Slow folding fixes most issues.
Beginner project comparison
Pick a first fold that matches your time and confidence. Each project links to a full step-by-step tutorial.
| Project | Difficulty | Time | Best for |
|---|---|---|---|
| Sailboat | Easy | 10–15 min | First folds |
| Whale | Easy | 10 min | Simple animals |
| Penguin | Easy | 15 min | Standing models |
| Ninja Star | Easy | 15 min | Modular fun |
| Butterfly | Easy | 12 min | Decorations |
Recommended next
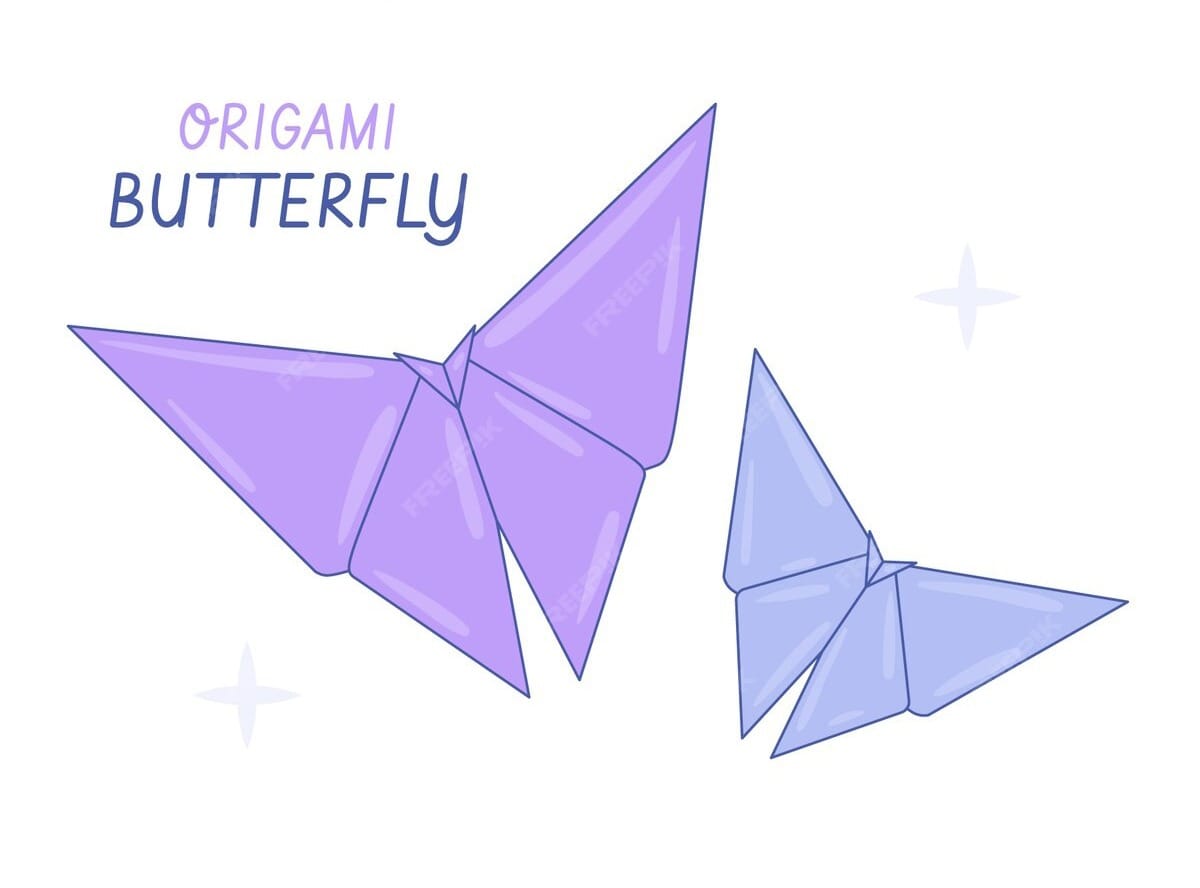
Origami Easy Butterfly Step by Step Guide Do you ever find yourself looking for a fun and creative activity to pass…
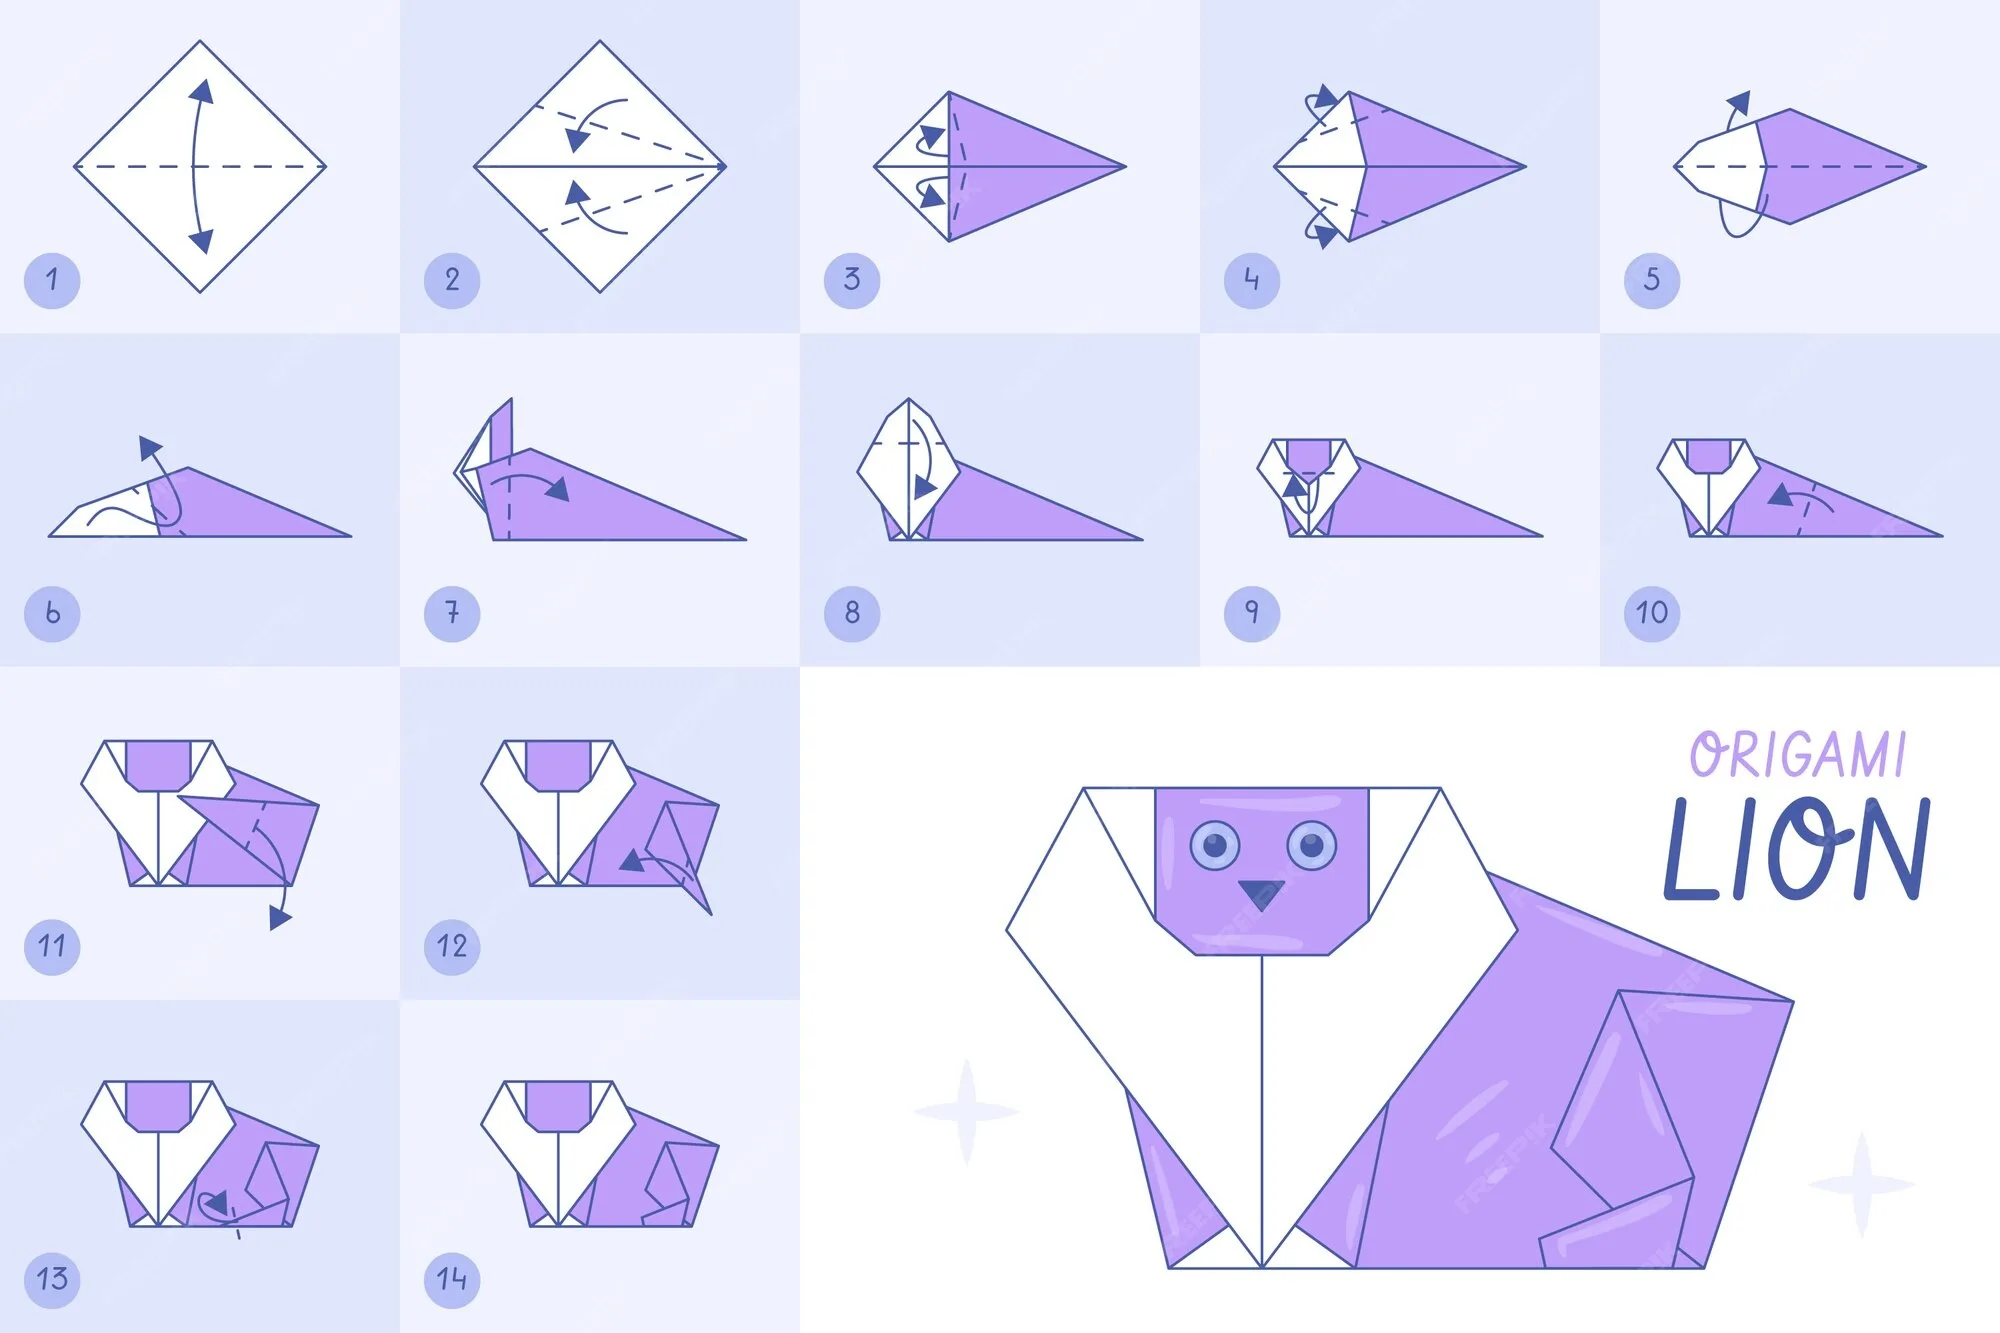
Learn Animal Origami Step by Step: Easy Instructions for Beginners Animal Origami Step by Step If you're fascinated by…
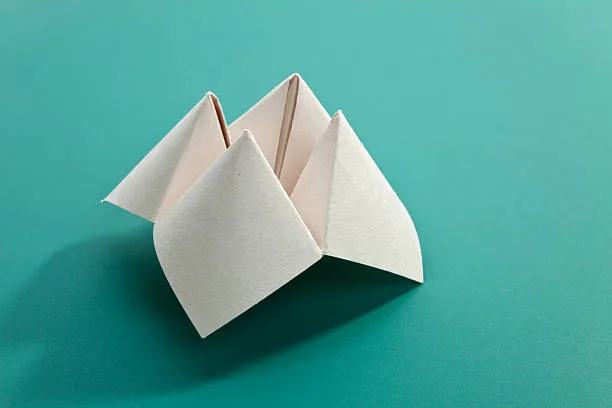
How to Make a Fortune Teller in 7 Easy Steps Introduction: Have you ever wondered about the secrets behind creating a…
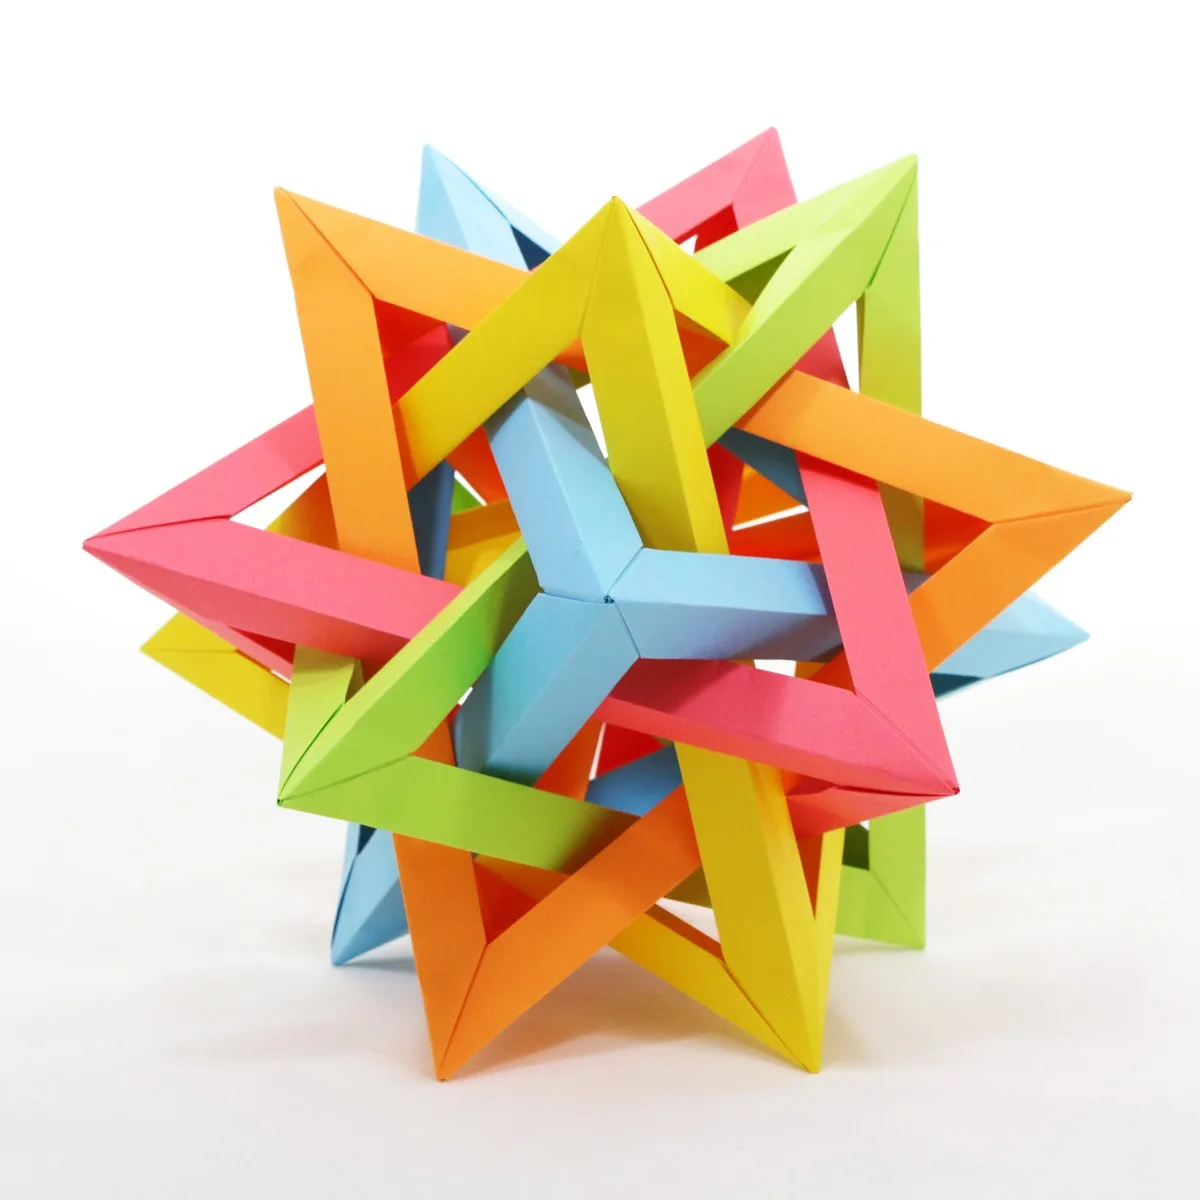
Outline for "Unfolding the Magic: The Art of Crafting an Origami Tetrahedron" I. Introduction A brief history of…

Origami is an ancient Japanese art form that involves the intricate folding of paper to create beautiful and intricate…
Crafting Spooky Fun: Halloween Origami Ideas Halloween is a time of ghouls, goblins, and everything spooky. While…
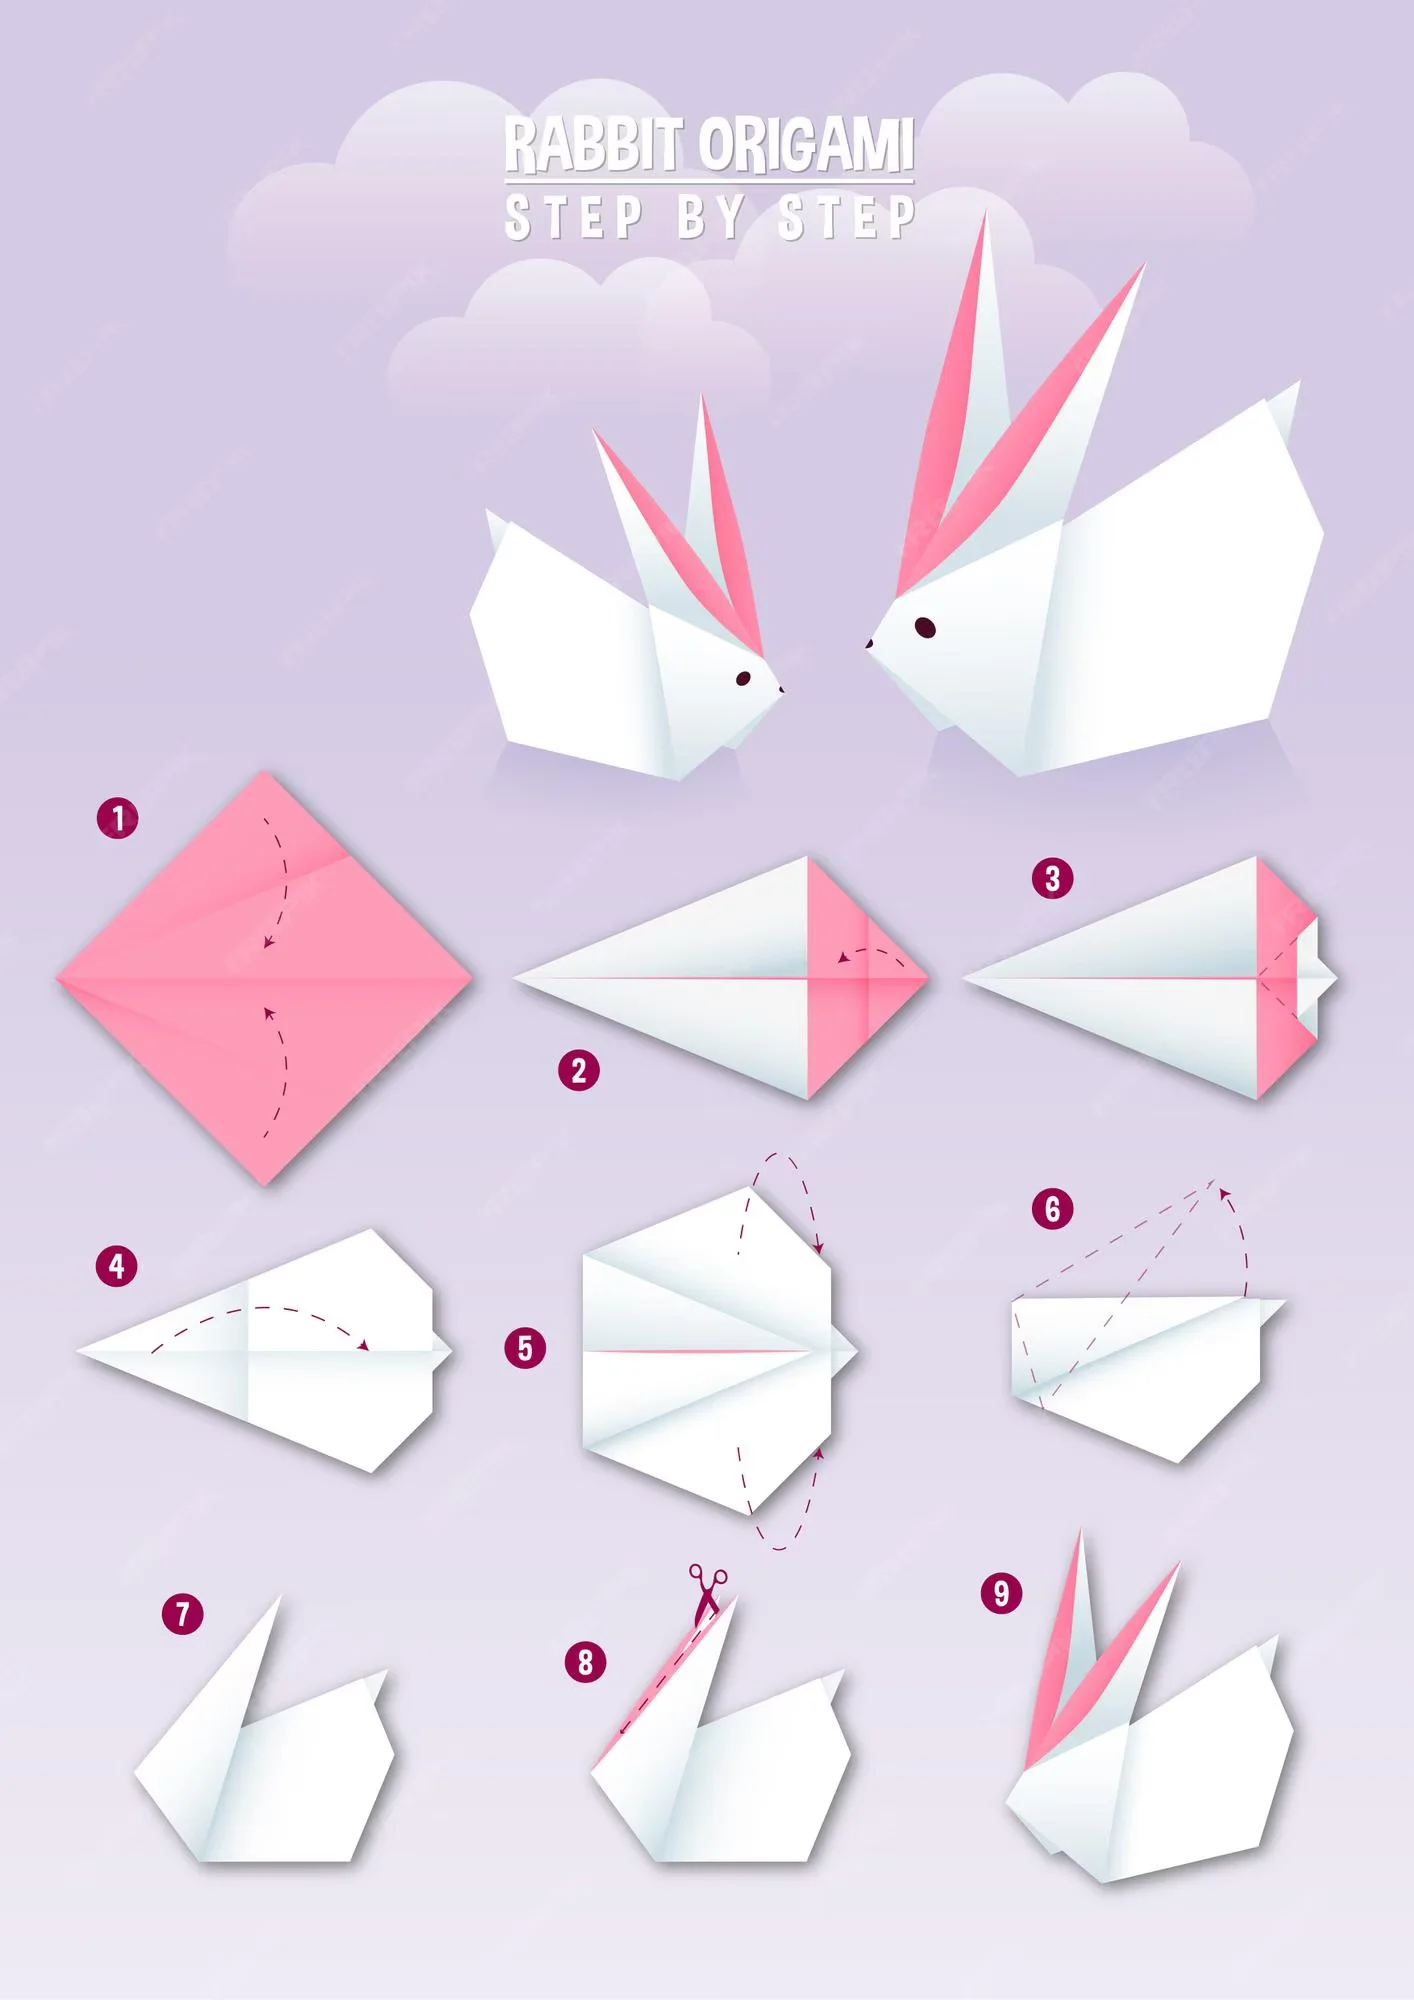
How to make Origami Rabbit Folding Step by Step Easy Origami rabbit instructions pdf;
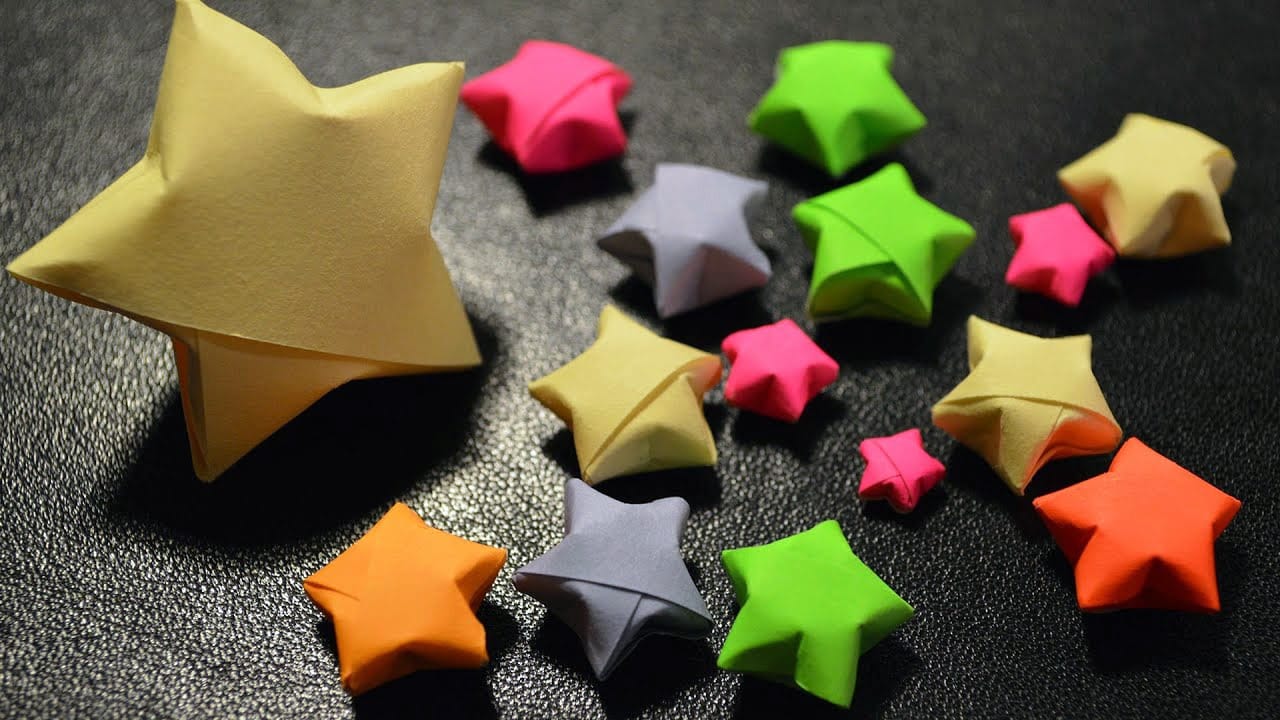
In our quest to provide you with the most comprehensive guide on crafting origami lucky star, we embark on a creative…
FAQ
- What is the easiest origami to start with?
-
Many beginners do well with a simple sail boat because the steps are short, few, and the result appears quickly. If you want a small animal, try the penguin next.
- Can I make origami with printer paper?
-
Yes. Copy paper works if you cut it into a square first. It can be a little thicker than kami, so go slow, crease firmly, and choose simpler projects while you are learning.
- What size paper is best for beginners?
-
A 6 in × 6 in (about 15 cm) square is a comfortable size for most easy models. If folds feel cramped, go slightly larger. If a model is too “floppy,” a smaller square can help, but not until basic folds feel easy.
- Is origami hard to learn?
-
Origami is learnable in minutes for basic folds, and the hard part is usually patience, not “talent.” If you can follow a recipe, you can follow simple origami with square paper, a flat table, and careful creasing.
- How long does it take to learn origami?
-
Most people can learn the core folds in one short session. Simple models can take 5–20 minutes each, depending on the tutorial. Skills build quickly when you finish one model, then try another using the same habits.
- What should I make after learning the basic folds?
-
Start with a quick win like the sail boat, then add variety with the penguin or whale. If you want a guided order, use Easy Origami Step by Step, and browse Easy Origami when you want to pick your own next project.